
Welcome Back to Pellet Tech 101!
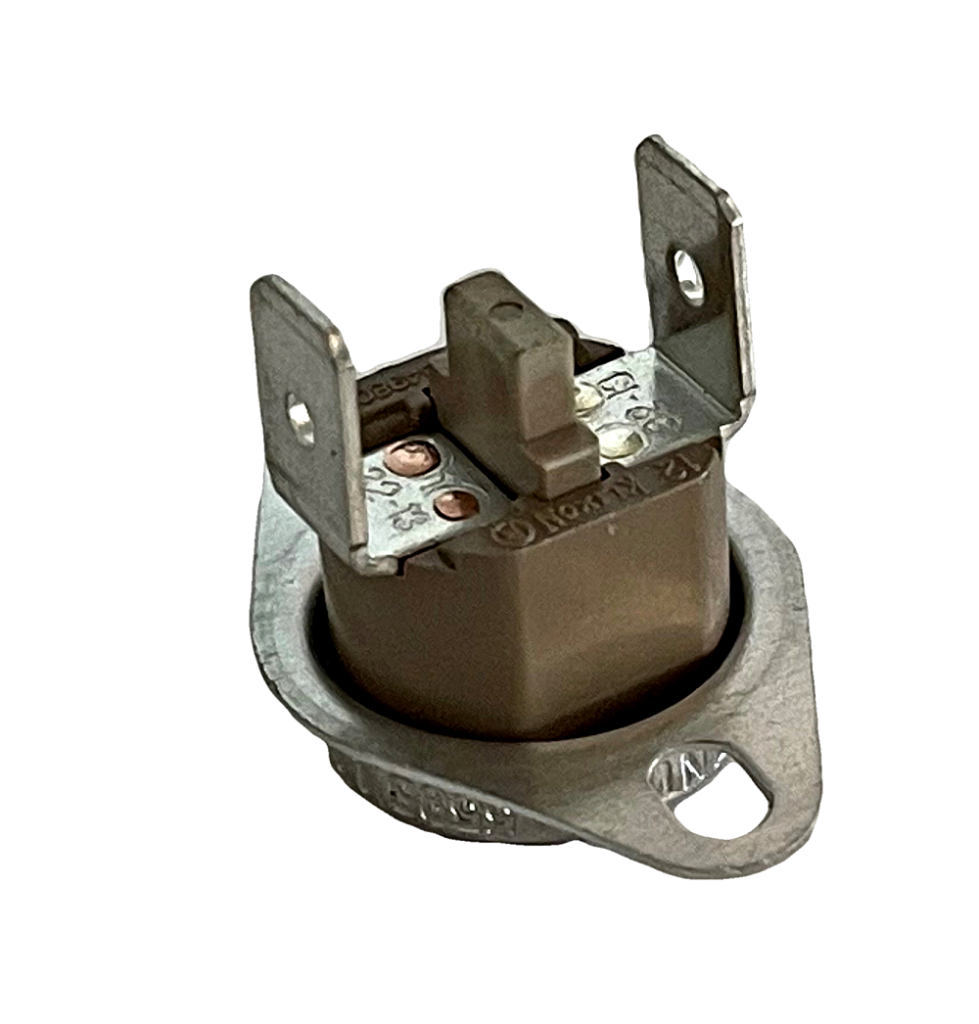
Our video above will cover the basics on general limit switches, thermodiscs, and safety sensors used in pellet stoves, corn stoves, coal stoves, gas stoves, and woodstoves. Most pellet stoves will have several low limit and high limit switches, also referred to as snap switches or thermodiscs. These switches are safety sensors and are a vital aspect of the operation and safety of your appliance.
Most limit switches will have a temperature reading indicated on the switch, Ex. 120F-20F or 200F-10F. Low limit switches are normally open and will close once the determined temperature has been met creating the electrical circuit. Once the switch cools down to the determined temperature, the switch will re-open breaking the electrical circuit. For example if I have a 120F-20F low limit switch, this switch will close once it reaches 120 degrees Fahrenheit and it will re-open when the switch is approximately at 100 degrees Fahrenheit. High limit switches are normally closed and will open if temperatures exceed the determined temperature limit breaking the electrical circuit. Some high limit switches have an auto-reset and some have a manual reset. Auto-reset high limit switches will automatically reclose once the determined temperature is met, manual reset high limit switches will require you to push a center button on the switch to reset. For Example, if I have a 200F-10F high limit switch, the electrical circuit will open/break if temperatures exceed 200 degrees Fahrenheit, and the electrical circuit will reclose once temperature has reached approximately 190 degrees Fahrenheit. If I have a 250F manual reset limit switch, the electrical circuit will open if temperatures exceed 250 degrees Fahrenheit, and the switch will not close until I push the reset button on the switch.
Low limit switch general applications:
- Convection blower/distribution fan to turn that blower on once the stove is hot enough.
- Exhaust fan/combustion blower to lock in the exhaust fan during start-up and to shut down the exhaust fan once the unit is cool.
- Proof of Fire (P.O.F.) The POF switch is to indicate to the control board that fire is or is not occurring by temperature at the switch. When heat closes this switch it signals to the board that the transition from the startup program to the run program may commence. If there is no flame or heat to close the POF switch the control board is not signaled that “Proof Of Fire” has occurred. In this case the control board will not transition from the startup program to the normal run program. This series of events is given a certain amount of a programmed time limit usually not exceeding 15 minutes.
High limit switch general applications:
- Mounted near the convection fan/distribution blower. If this blower becomes dirty, weak, or fails and can no longer distribute the hot air into the room properly, the high limit switch will trip shutting off power to the auger feed motor in most cases.
- Mounted near the auger shaft housing. If my fire in the burnpot is out of control and the flame starts to go up the pellet drop chute, the high limit switch will trip shutting off power to the auger feed motor or the entire stove in some cases.
- Mounted on the rear firewall. If the fire inside the firebox becomes too big or too hot, the high limit switch will trip and shut down power to the auger feed motor. In this case refer to room fan malfunctioning or dirty.
If we have a high limit switch that is tripping:
- Inspect the convection fan/distribution blower function and voltage output. Be sure to clean the fan impeller wheel from dust and debris, and lubricate the motor if indicated on the motor label. Please Note: Motor lubrication is a temporary fix in all cases of motor seizure.
- Thorough cleaning of the burnpot, ash traps, heat exchange area, exhaust manifold, and exhaust vent pipe flue. 80% of the time, if we have an erratic flame in our firebox it is due to a cleaning and maintenance issue with the appliance.
- Double check your gasket seals – Door gasket, glass gasket, ash door gasket, and hopper lid gasket where applicable. Any air losses or blockages will have a dramatic effect on our burn quality, safety, and performance.
A limit switch can be tested and bypassed for TROUBLESHOOTING ONLY. We never want to leave a safety switch bypassed in our appliance. If you have checked all the basics and are still running into issues with a tripped/tripping limit switch, follow along with our video below on how to further troubleshoot to determine if the switch requires replacement.
Browse Limit switches
Browse parts by make & model

Looking for a better way to clean? Browse ASH VACUUMS

Any Further Questions or Technical Assistance Needed Please Leave us a Comment Below.
Over 30 years of trusted value and commitment to customers.
Save. Green.

heatilator cab 50 red call lite stays on pellets keep feeding
Thanks for the message Jesse. During start-up mode we will see a more consistent feeding of pellets. Once the thermocouple senses proof of fire and the stove goes into normal operating mode, feeding should be on/off cycles. If your red call light is staying on constant from start-up and your auger motor never stops turning, most likely we have a control box issue. I would suggest unplugging the stove, check all wiring, pull the control box out, double check the control box setting, and place it back in. See if anything changes. If not, I would suggest taking the control box to your nearest local dealer and see if they can test it for you. Keep us posted, happy to help.
Got my replacement low limit switch in the mail. (Country Stove Window PS40). So psyched until I realized the screws in the old switch connectors don’t fit in the new switch connectors. Pellethead supplied newfangled connectors instead of some screws that fit the switch. Now I either have to wait another day and go out in search of some tiny screws with flat large heads to hold the “u” on the end of the wire in place, or I have to learn how to splice a wire into the new kind of connector. Wish the part just had the same size holes as the switch I removed 🙁 Maybe I’ll use some spare wire for now and some electrical tape.
Thanks for contacting us, sorry to hear of the frustration. For the OEM H5887 low limit switch, wires screw to the terminals. Our Pellethead switch for H5887 comes with female spades to attach to the male spades on the switch. It’s very easy to attach the spades to the lead wires to connect to the Pellethead switch. We do offer the OEM switch, however it is considerably more than the Pellethead aftermarket switch. If you want to set up a return and order the OEM switch instead just let us know. Links for both below.
OEM: https://pellethead.com/product/lennox-iron-strike-proof-of-fire-ceramic-low-limit-snap-switch-oem/
Pellethead: https://pellethead.com/product/pellethead-replacement-lennox-iron-strike-proof-of-fire-ceramic-low-limit-snap-switch/
Hi
i have a quadrafire 1200i insert. Should the #1 snap disc be in the open or closed position when the stove is not operating?
Thank you,
Scott
Hi Scott-
When a Quadrafire pellet stove is off, the snap disc should be in the closed position.